While I was waiting ever so patiently for Laney to forget the shirts, I remembered seeing several things online about using t-shirts to make totes. When she went to sleep Sunday night, I decided to get to work. I sneaked into her room under cover of night, and confiscated the shirts in question, then I made two very cute, very different little bags.
The first tote took less than five minutes, and is a simple tote for library books and such. The other is a little more purse-like to carry any summer goodies as we are out and about.
What you will need:
One t-shirt (adult or child)
Sharp Scissors
Sewing machine
coordinating (or not) thread
Here we go!
TOTE ONE: Just a simple tote
Start out by laying out your t-shirt.

Cut the shirt sleeves off. Then cut to scoop the neck down further.

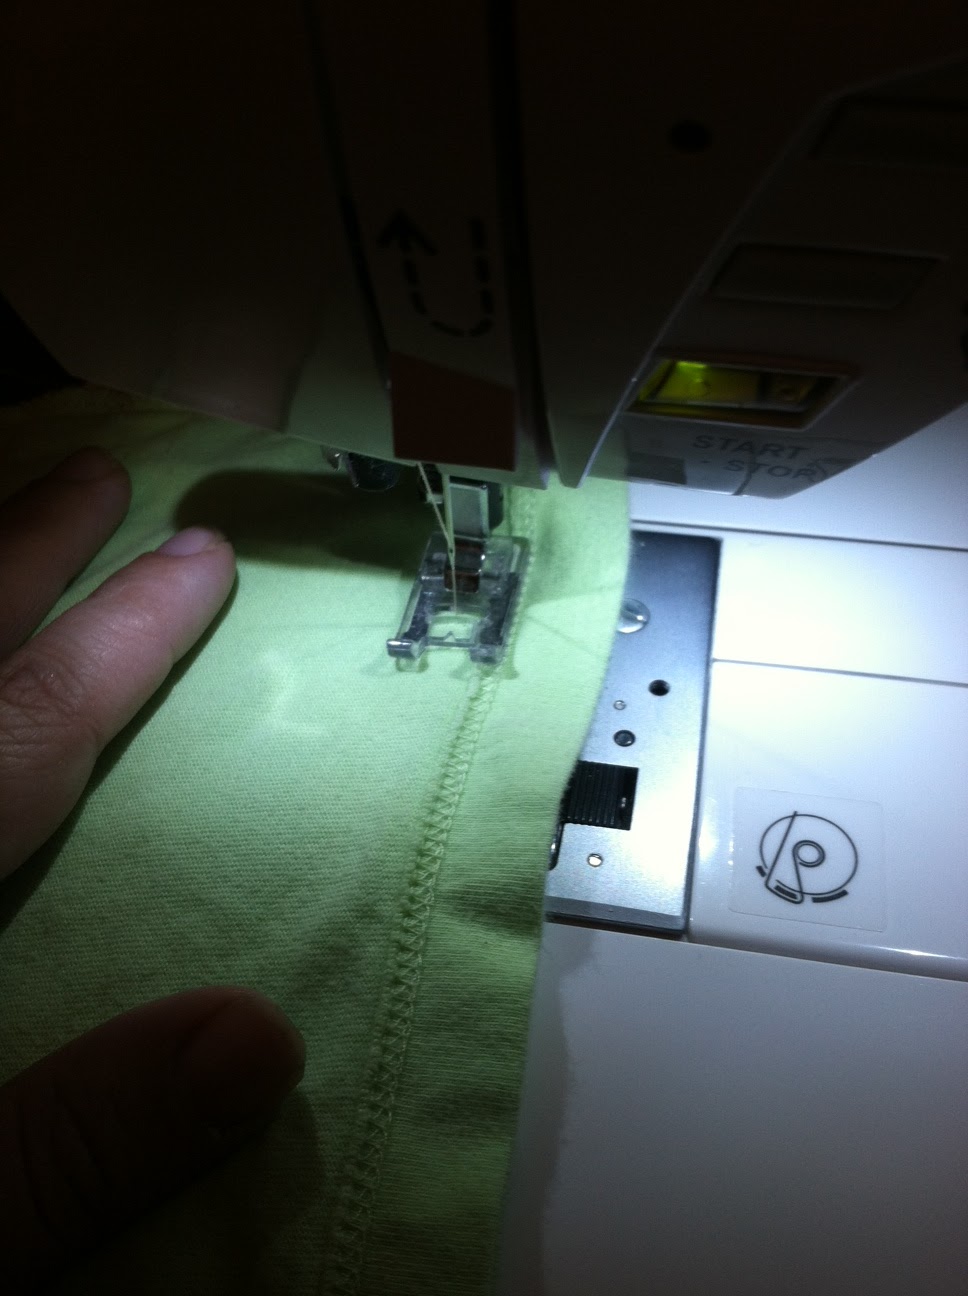
Now turn your shirt inside out, and stitch up the bottom hemline to close the bottom of your tote.
Now turn your completed tote right sides out and fill it with whatever!

TOTE TWO: A purse-like little tote
Once again, start out by laying out your shirt.
Cut off the sleeves, but leave the neckline in tact. You will also need to cut the bottom of the shirt off to around a half inch longer than where you would like the bag to stop.

Save the sleeves, but you can throw out the bottom strip of the shirt or toss it into your scrap stack. (I tossed mine into the scrap stack to use for another adorable project)
Stitch up the shoulder part of your sleeves to close that end. Fold the hem end of the sleeve in half.

Turn your shirt inside out, then securely pin your folded sleeves into the shoulder of the tshirt.


Turn right side out, tie the sleeves into a cut knot, and fill with goodies!

At the end of the day, Laney was VERY excited that we had saved her shirts in a way that she could continue to use them....and I was VERY happy to be done with the t-shirt battle of 2013.
I hope you enjoy this project as much as we did!

No comments:
Post a Comment